
*Advertisement Feature

This pandemic has shown me just how important being creative is for my well being. Not only for self-care but by making time for things, painting, drawing and reading. It is actually making me a better mother. They are things I always felt guilty about before and now I can see how important they are.
Rock painting has been a real star of lockdown with people leaving painted rocks to pass on positive messages for others to find. There was even a place in our local area when they created a painted rock snake. Which the children loved and a lovely way for communities to connect.
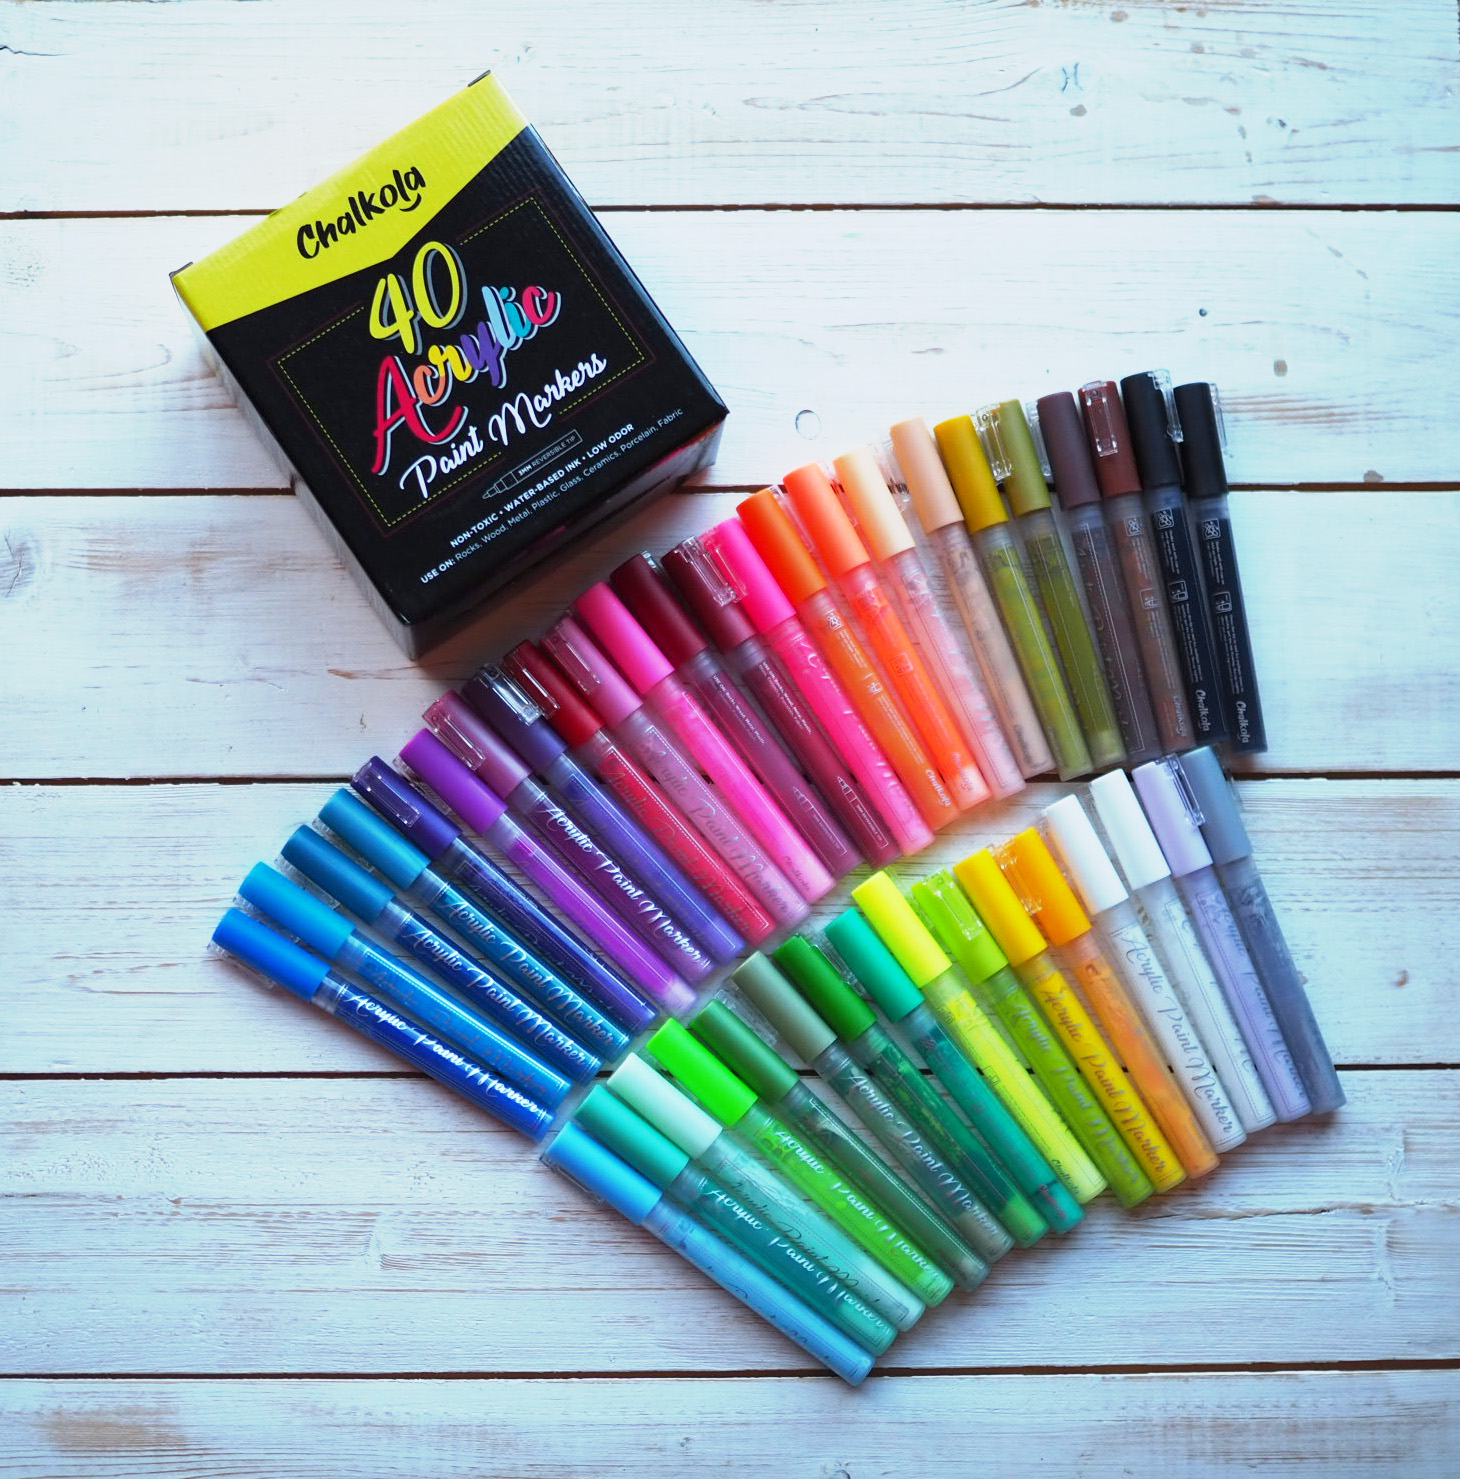
Chalkola Acrylic Pens
I remember when I first saw painted rocks and I wondered how on earth people manage to paint in such small detail with a brush, but now I know this is done by using paint pens. Acrylic pens can be used on all sorts of surfaces from rocks, canvas, wood and fabric. Or as I am about to show you on glass.
Painting a Glass with Acrylic Pens
Recently, I have fallen in love with decorated glasses after having some featured in my gift guides. I had an old wine glass left over from a broken set and I decided to give it a new lease of life with my Chalkola acrylic pens. This is how I did it.
Step One – Sketch Your Design on Paper
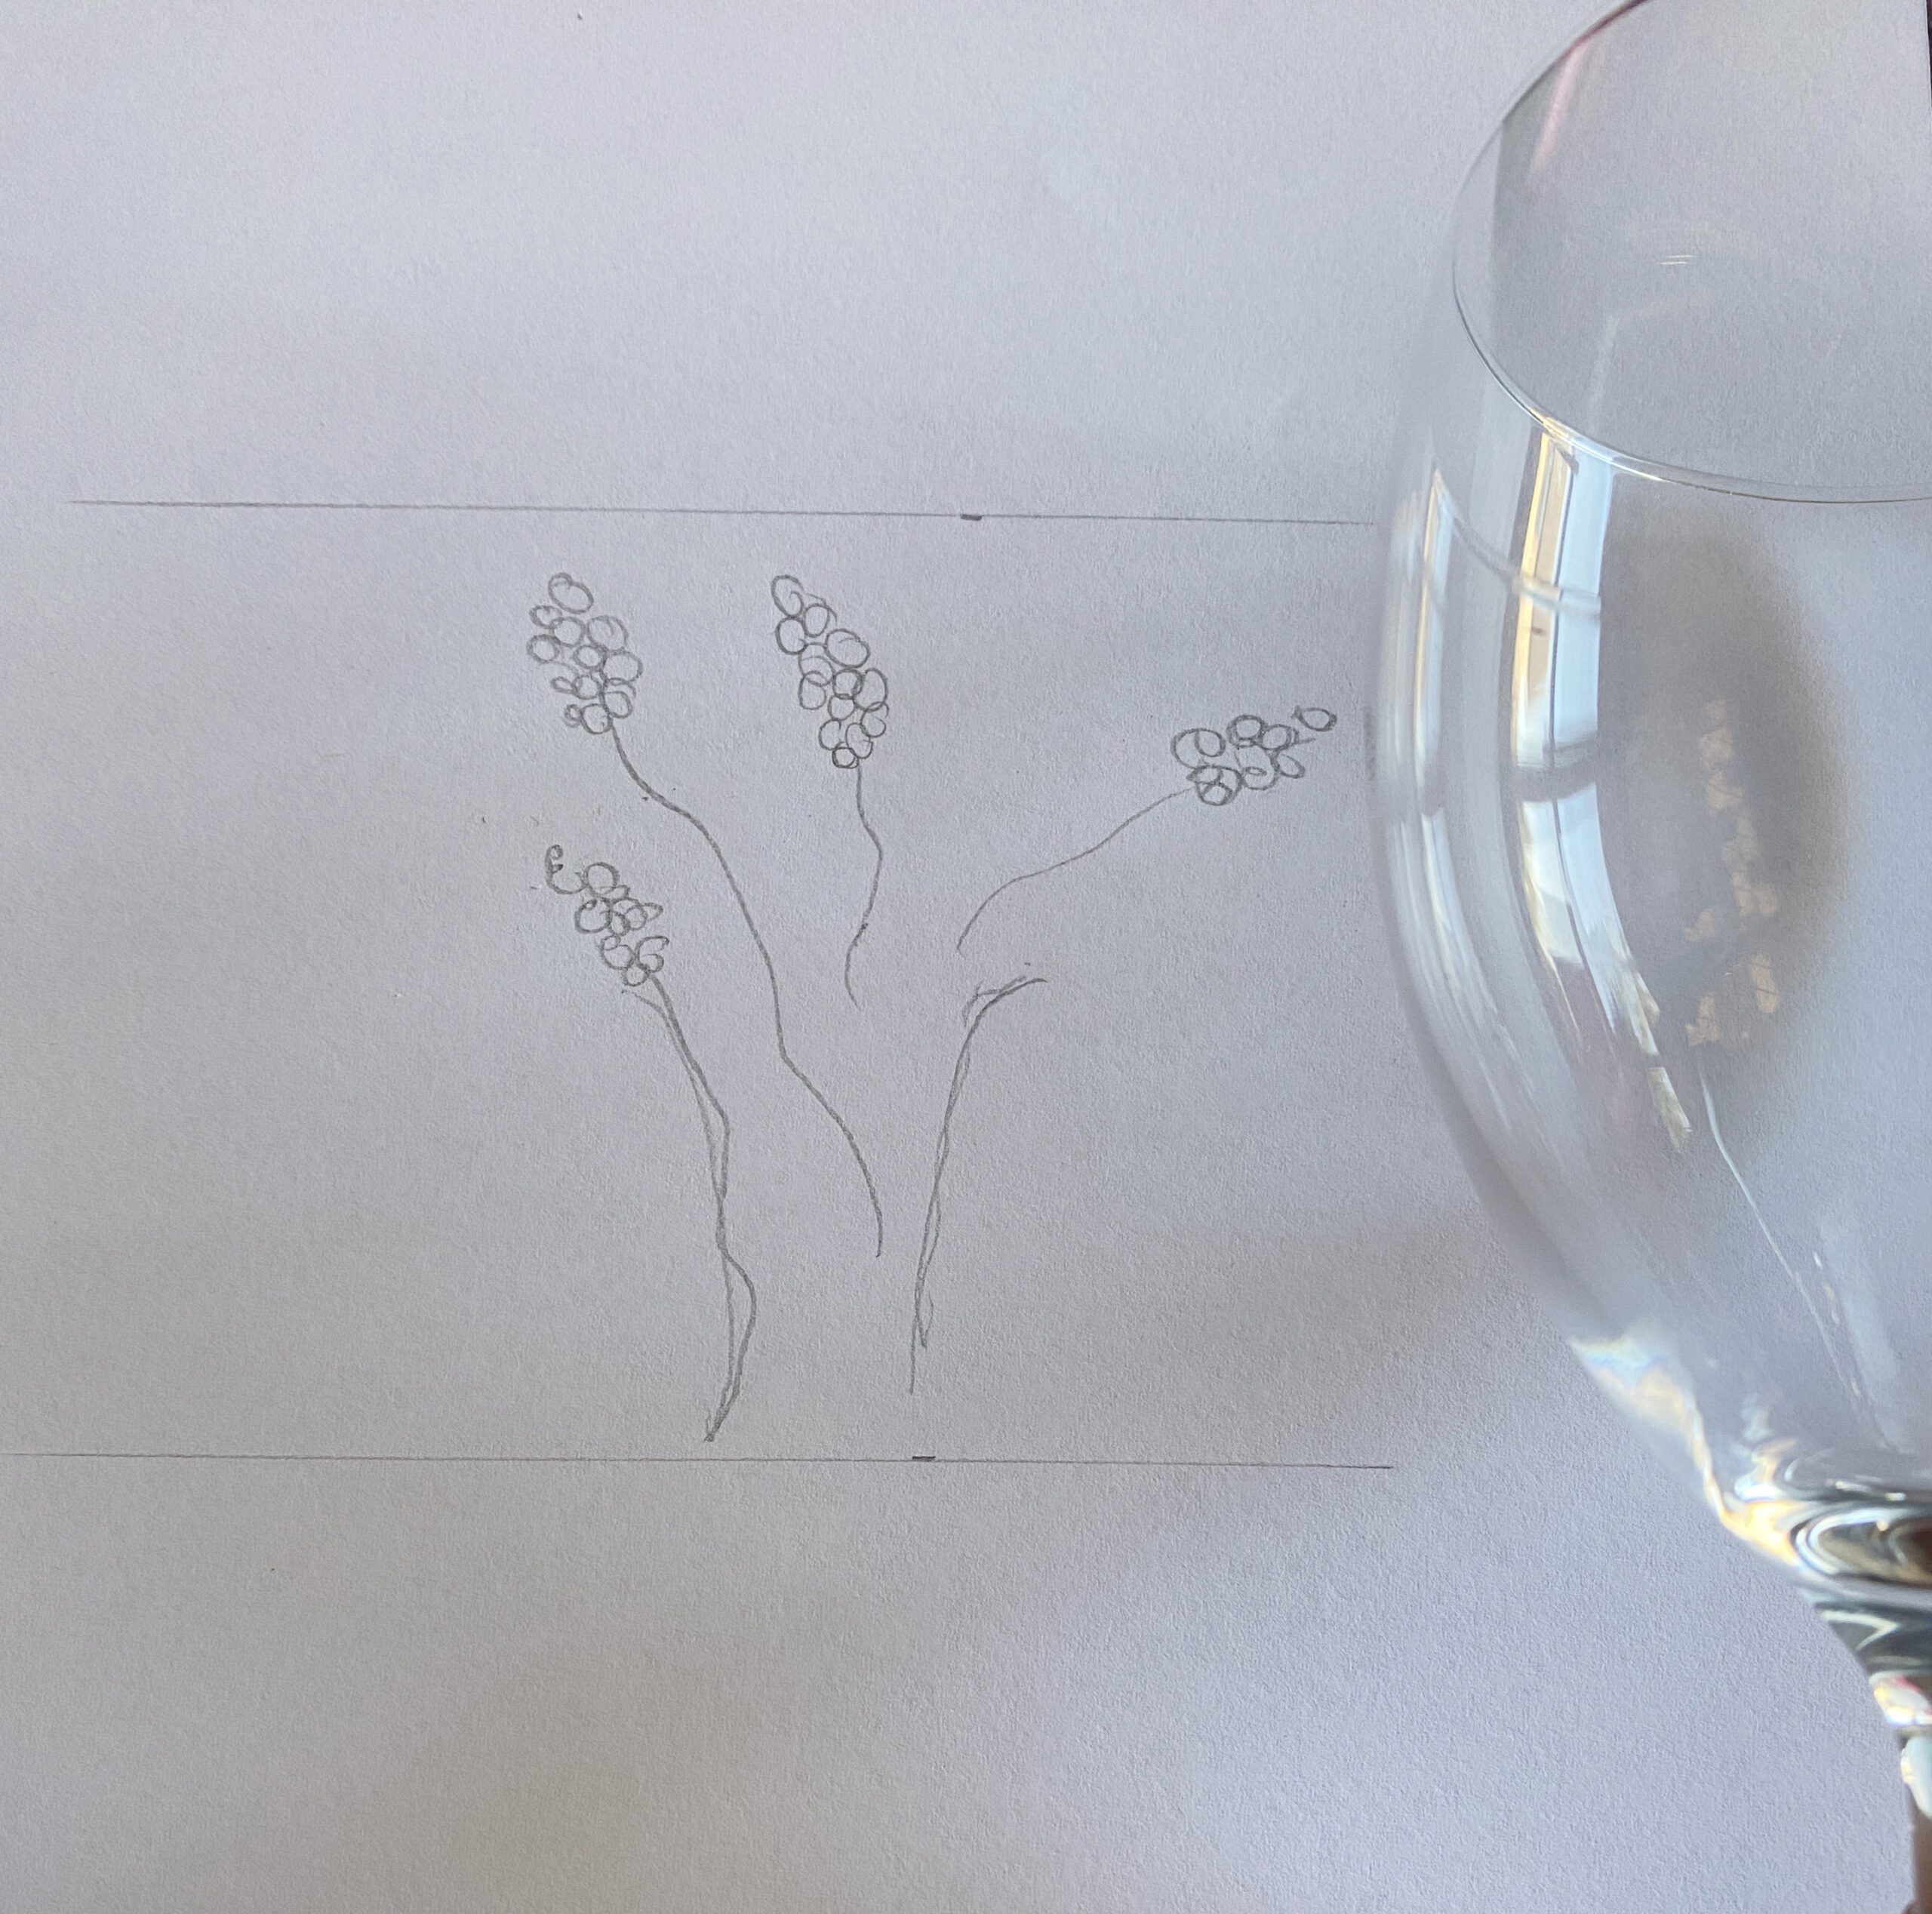
For the first part of this process, I drew a quick sketch on paper to work out how it might look. I looked on the internet for a little inspiration. I thought about what designs would be simple as a starting point. Thinking about how they would translate into paint.
Then, on the paper I draw a line for the depth of the glass and did a practise sketch.
Step Two – Practise your Design with Acrylic Pens on Paper

When I was pleased and confident with the sketch. I then experimented with the paint pens on paper first in order to get a feel for how they work and how the colours might look together. I was actually really pleased with the effect.
Step 3 – Start your First Colour on the Glass

I started painting with just one colour at first. The green stems of the flowers and used this as the base of my design. If I could give you one word of advice when painting on a circular glass, it would be to paint in one direction so that you don’t smudge the painting you have already done as you move it around.
Step 4 – Layer up the Colours
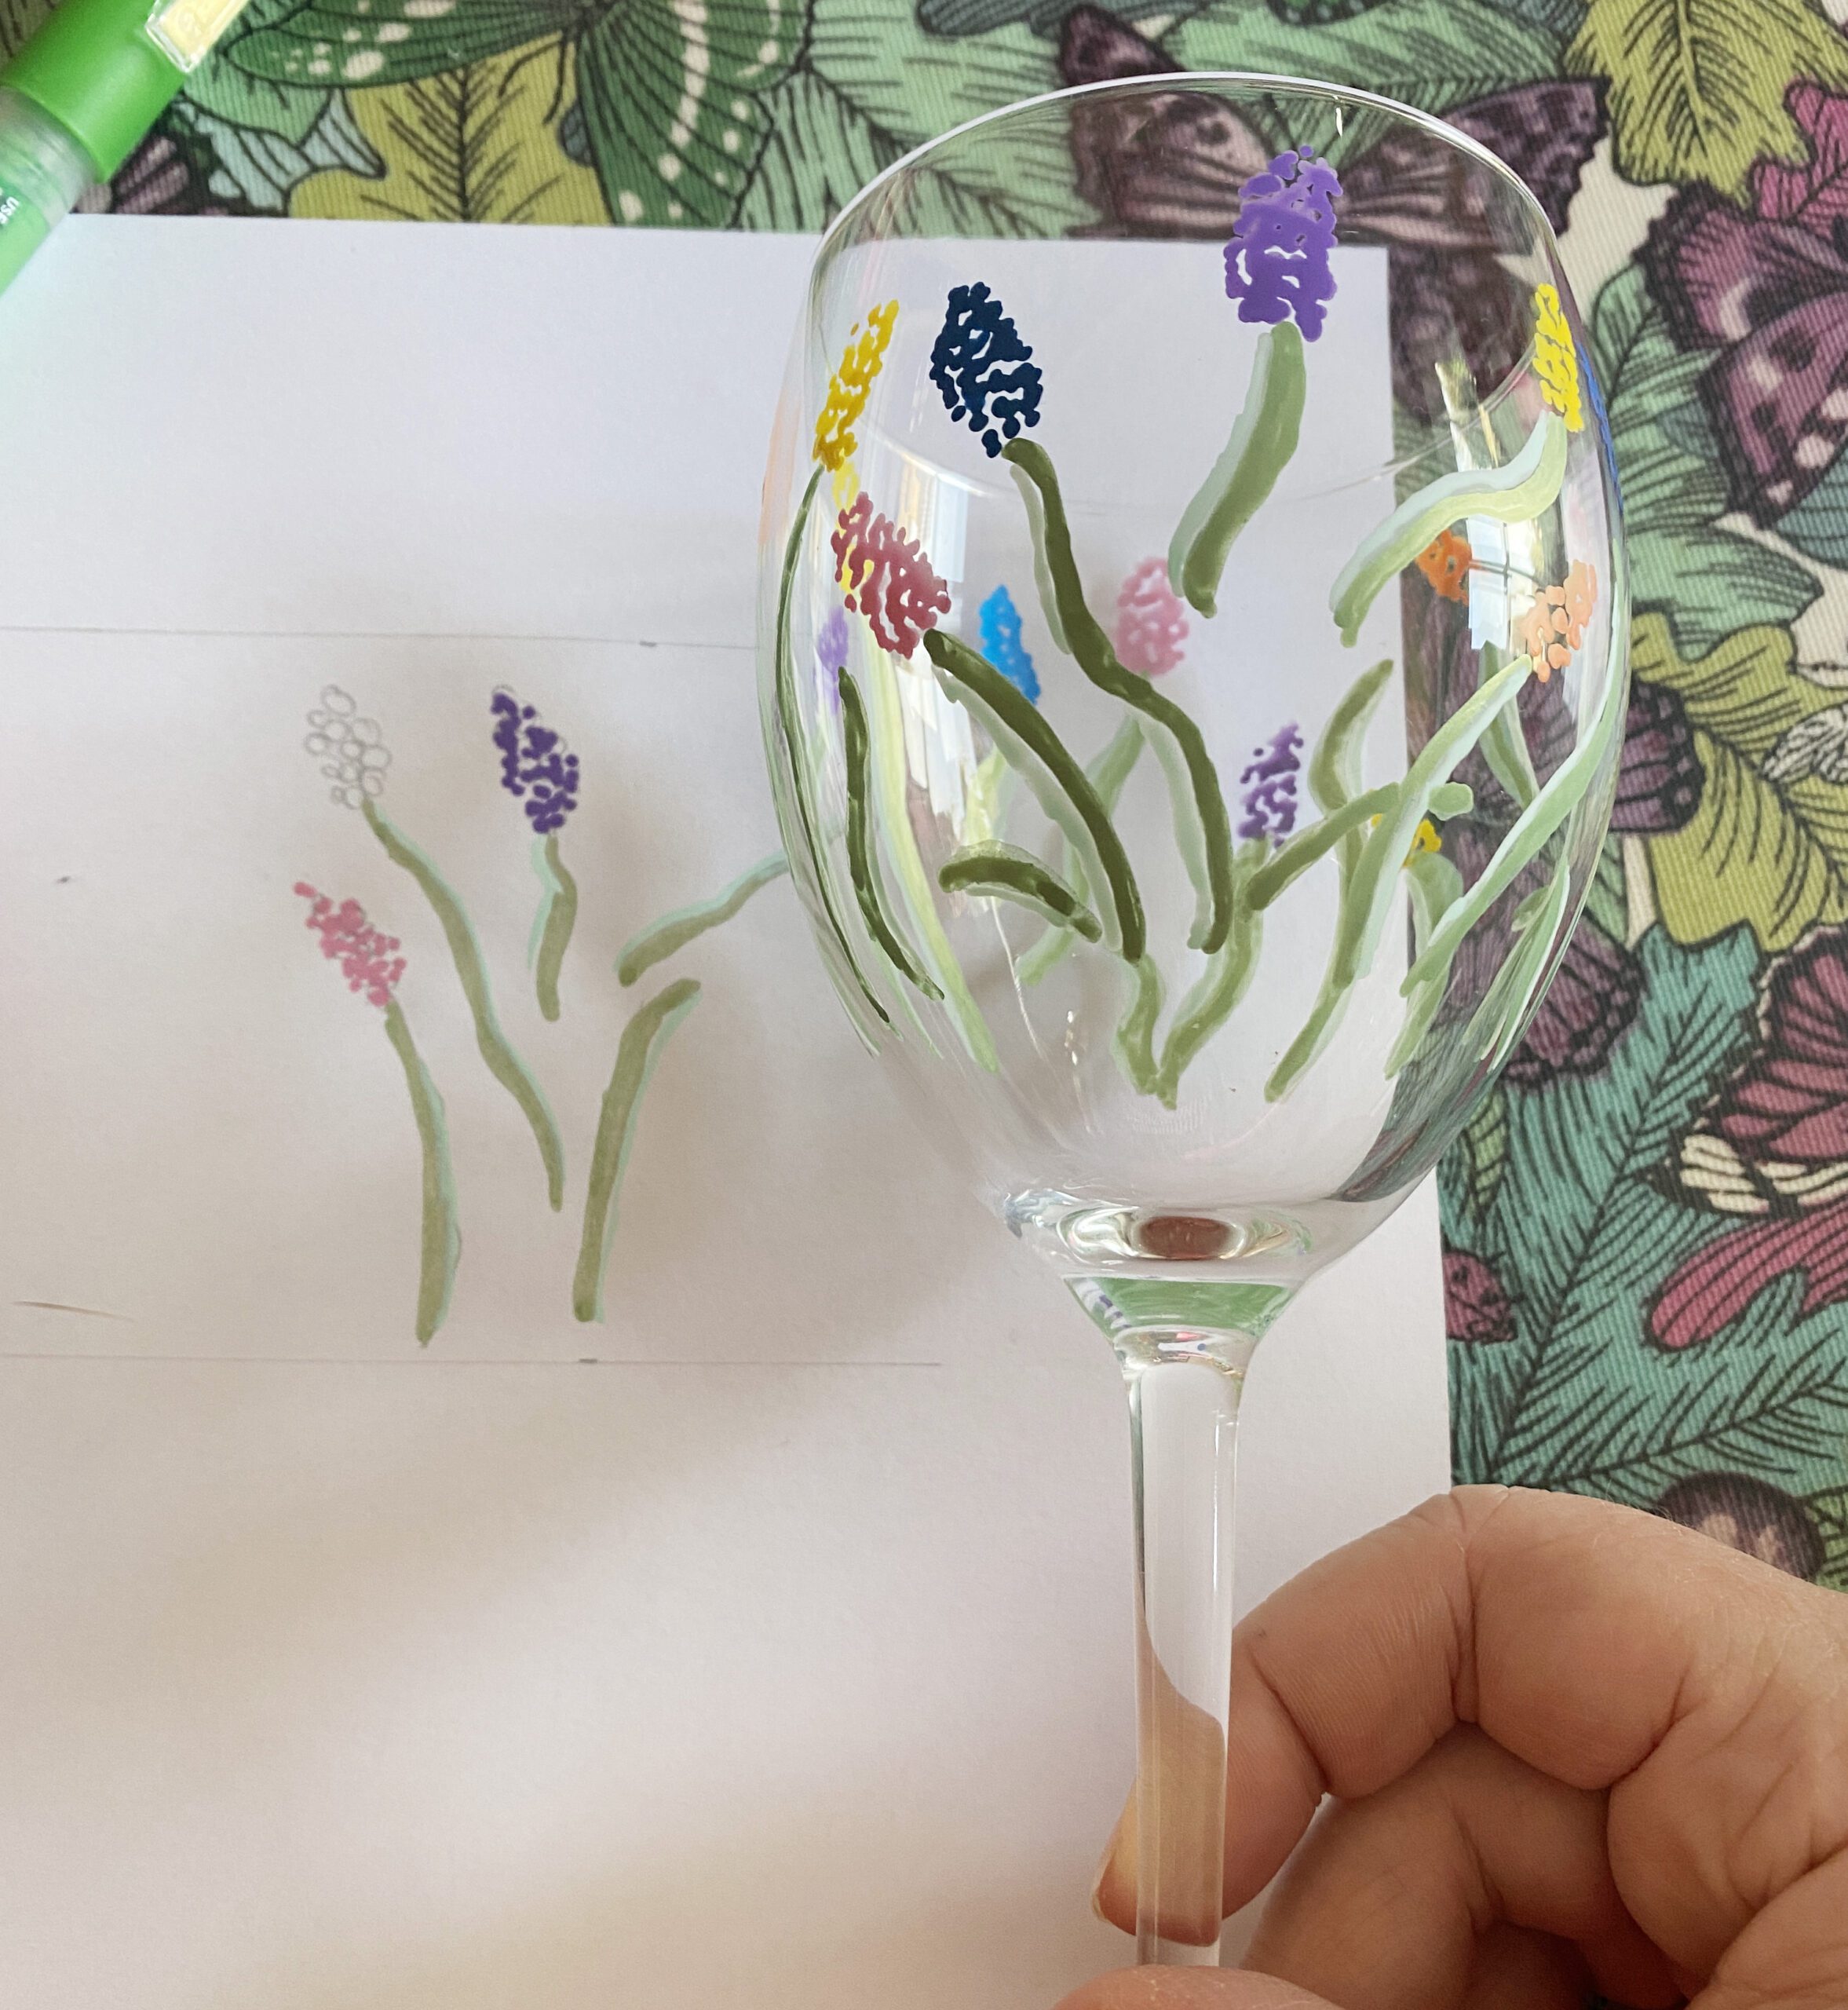
When the first colour is dry, then you can start adding another colour. If you look at my stems I used two tones of green. When working with the pens it is really important that the first colour is dry before you add another colour otherwise they blend together. I created the flowers by overlapping lots of little dots with the pens.
I’m really pleased with my glass and it has given it a new lease of life. It would work great with vases, crockery and mugs. I also think it would make a lovely and really thoughtful gift with Mother’s Day and Easter around the corner too.
Buy Chalkola Acrylic paints pens for £29.95 (affiliate link)
