
Welcome to a weekly feature on my blog – Ben’s Zone. Written by husband… Ben. A foodie, coffee obsessed, ex-smoking, ex-drinking and Ridgeback loving Dad. Who is also seriously into his fitness. You can find him on the blog (mostly) on Sundays. Enjoy!
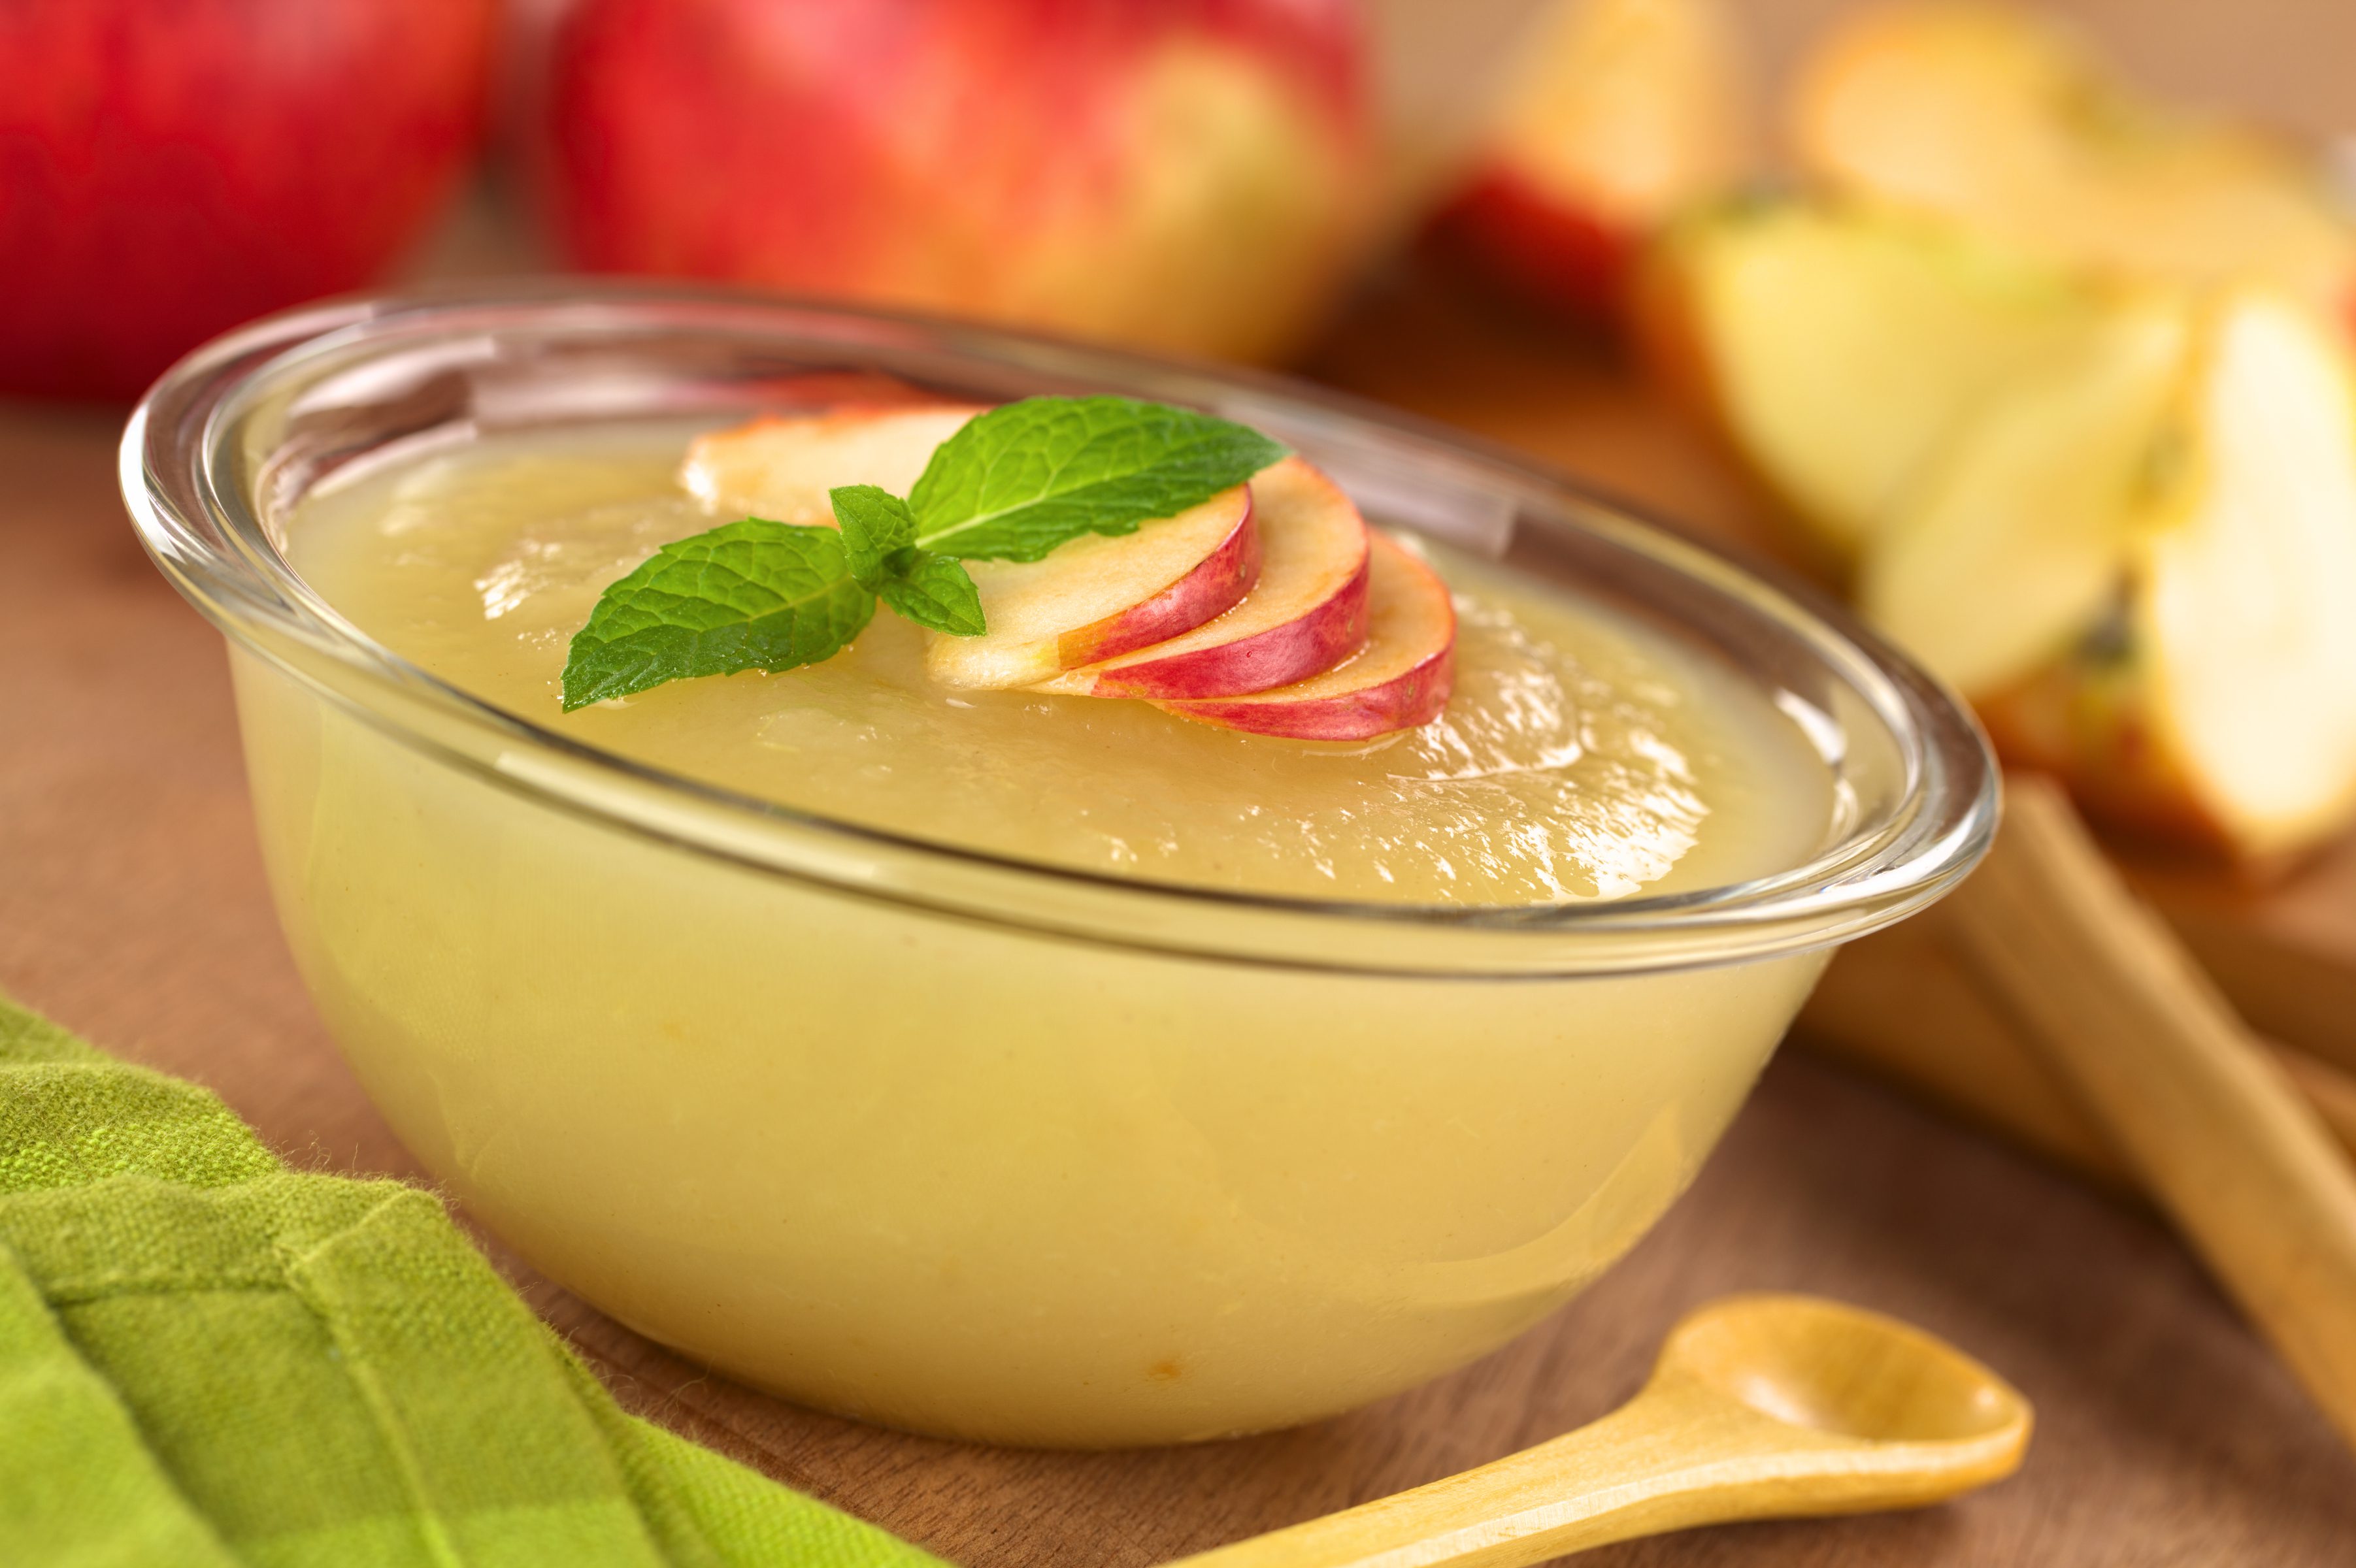
My Favourite Comfort Foods – Stewed Apples
I often blog about new gadgety stuff I am playing with in the kitchen and I’ll be honest, I do like a good science experiment but I also like making something simple, wholesome and fulfilling, so I thought I would do some articles where I share these recipes, this is minimum faff, maximum happiness type stuff so don’t expect anything complex.
Often British food comes in for a bad rap, often by us Brits ourselves but there are some things we’re really really good at, asparagus is one, strawberries are another and, for my money, British apples take some beating. I could go on a lot about how nice a good Cox is at peak ripeness but today the Cox is not the star, today, we’re talking about the Bramley. When eaten raw the Bramley is hard and bitter with tough skin but when you cook it, something quite magical happens. There are lots of nice things to do when cooking Bramleys, baking, apple pies, tarte tatin, the list goes on, but that’s not my comfort food. I don’t know when I started to love simple stewed apples, there’s a good chance it was among the first solid food I ate, and it’s remained a food I love. It’s cheap, it’s easy and it tastes wonderful and you don’t need any special toys to make it, just a saucepan, a peeler and a sharp knife. So let’s take a look.
Ingredients:
10 Big Bramley cooking apples
Either sweetener (my choice) or sugar
Water
Method:
1. Peel up the apples, be thorough and don’t leave any peel on them at all as even cooked it’s like eating leather.
2. Chop the sides of the apples away from the cores, try not to get any core in as it goes all stringy and gets in your teeth.
3. Slice the apple pieces into nice fine slices, you want them to break down into a mushy texture so big chunks are not the order of the day here.
4. Put your apple into a large heavy bottomed saucepan with about 50-75ml of water in the bottom.
5. Put the saucepan on a small hob on lowest setting. Put the lid on and leave.
You’ll find that as the apples cook the ones at the bottom go mushy, so that it all cooks evenly just go and stir it every 10 – 15 mins and make sure it’s all well combined. Don’t let it boil over as it’s a pig to get off stuff. Likewise, when you finish wash the saucepan before it sets. This stuff isn’t quite as bad as weetabix thrown by a baby in terms of stickiness but it’s not far off, so deal with it quickly.
5. Once everything is of a uniform mushy texture, turn the heat off and let it cool.
6. When you can put your finger in without swearing it’s cool enough to sweeten. Go easy here as the heat will have brought out the natural sugars. Sweeten to taste.
7. You now have two options, decant into smaller tubs (takeaway tubs are ideal) for about 5 servings (i.e. a weeks worth) or pour into a bowl and eat the lot (obviously I never do this, if you do and it gives you a bad tummy, you were warned).
In terms of serving, I just like to dump in some sultanas (about 25g for a 300g serving of apples is about right) and eat it cold but you could put in nuts or maple syrup if you wanted. I don’t bother with spices as it doesn’t need it and also it makes things less simple. You can warm it through if you like or use it as a basis for a crumble, should you wish to do so.
But don’t do crumble, or spices or any of that. Sit down with some stewed apples and raisins as a week-day dessert after a hard day at work and muse on how sometimes, simple things can be just really good.